When to use webhooks
Webhooks are essential for managing behind-the-scenes transactions. They allow you to receive alerts for asynchronous updates to transaction statuses. MoonPay can send webhook events that notify your application whenever an activity occurs on your account. This feature is particularly valuable for tracking changes like transaction status updates, that are not triggered by a direct API request. These notifications are delivered through HTTP POST requests to any endpoint URLs you’ve specified in your account’s Webhooks settings. MoonPay is capable of sending a single event to multiple webhook endpoints.Configuring your webhook settings
Webhooks are configured in your MoonPay dashboard’s Webhook settings. Click Add Endpoint to reveal a form where you can add a new URL for receiving webhooks.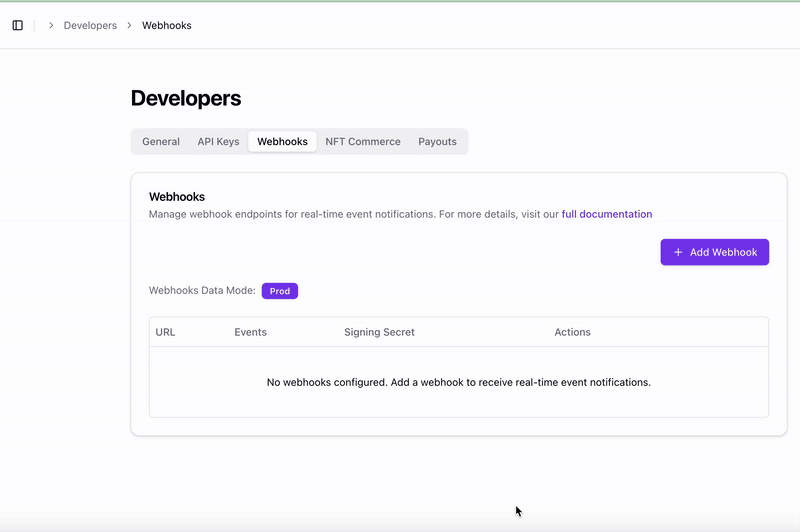
Webhooks dashboard
swap_* events. These never fire for widget accounts and are safe to leave unselected.
Using test or live API keys determines whether test events or live events are sent to your configured URL. If you want to send both live and test events to the same URL, you need to create two separate settings. You can add as many URLs as you like.
Delivery, retries and ordering
Every event is delivered as an HTTP POST request with a JSON body, signed with theMoonpay-Signature and Moonpay-Signature-V2 headers (see Request signing).
- Acknowledge quickly. Respond with a 2xx status code within 5 seconds. Any non-2xx response, timeout or connection error counts as a failed delivery attempt. If you need to do heavy processing, acknowledge first and process asynchronously.
- Failed deliveries are retried. MoonPay retries a failed delivery up to 9 times with exponential backoff, starting at 1 second and roughly doubling per attempt. Once retries are exhausted the event is not redelivered.
- Delivery is at-least-once. Duplicate deliveries can occur, so make your handler idempotent. For example, deduplicate on the event
typeplus the transactionidandupdatedAtvalues in the payload. - Events are not ordered. Events can arrive out of order, especially when retries are involved. Use the
updatedAttimestamp inside the payload rather than arrival order to decide whether an event is newer than the state you have stored.