
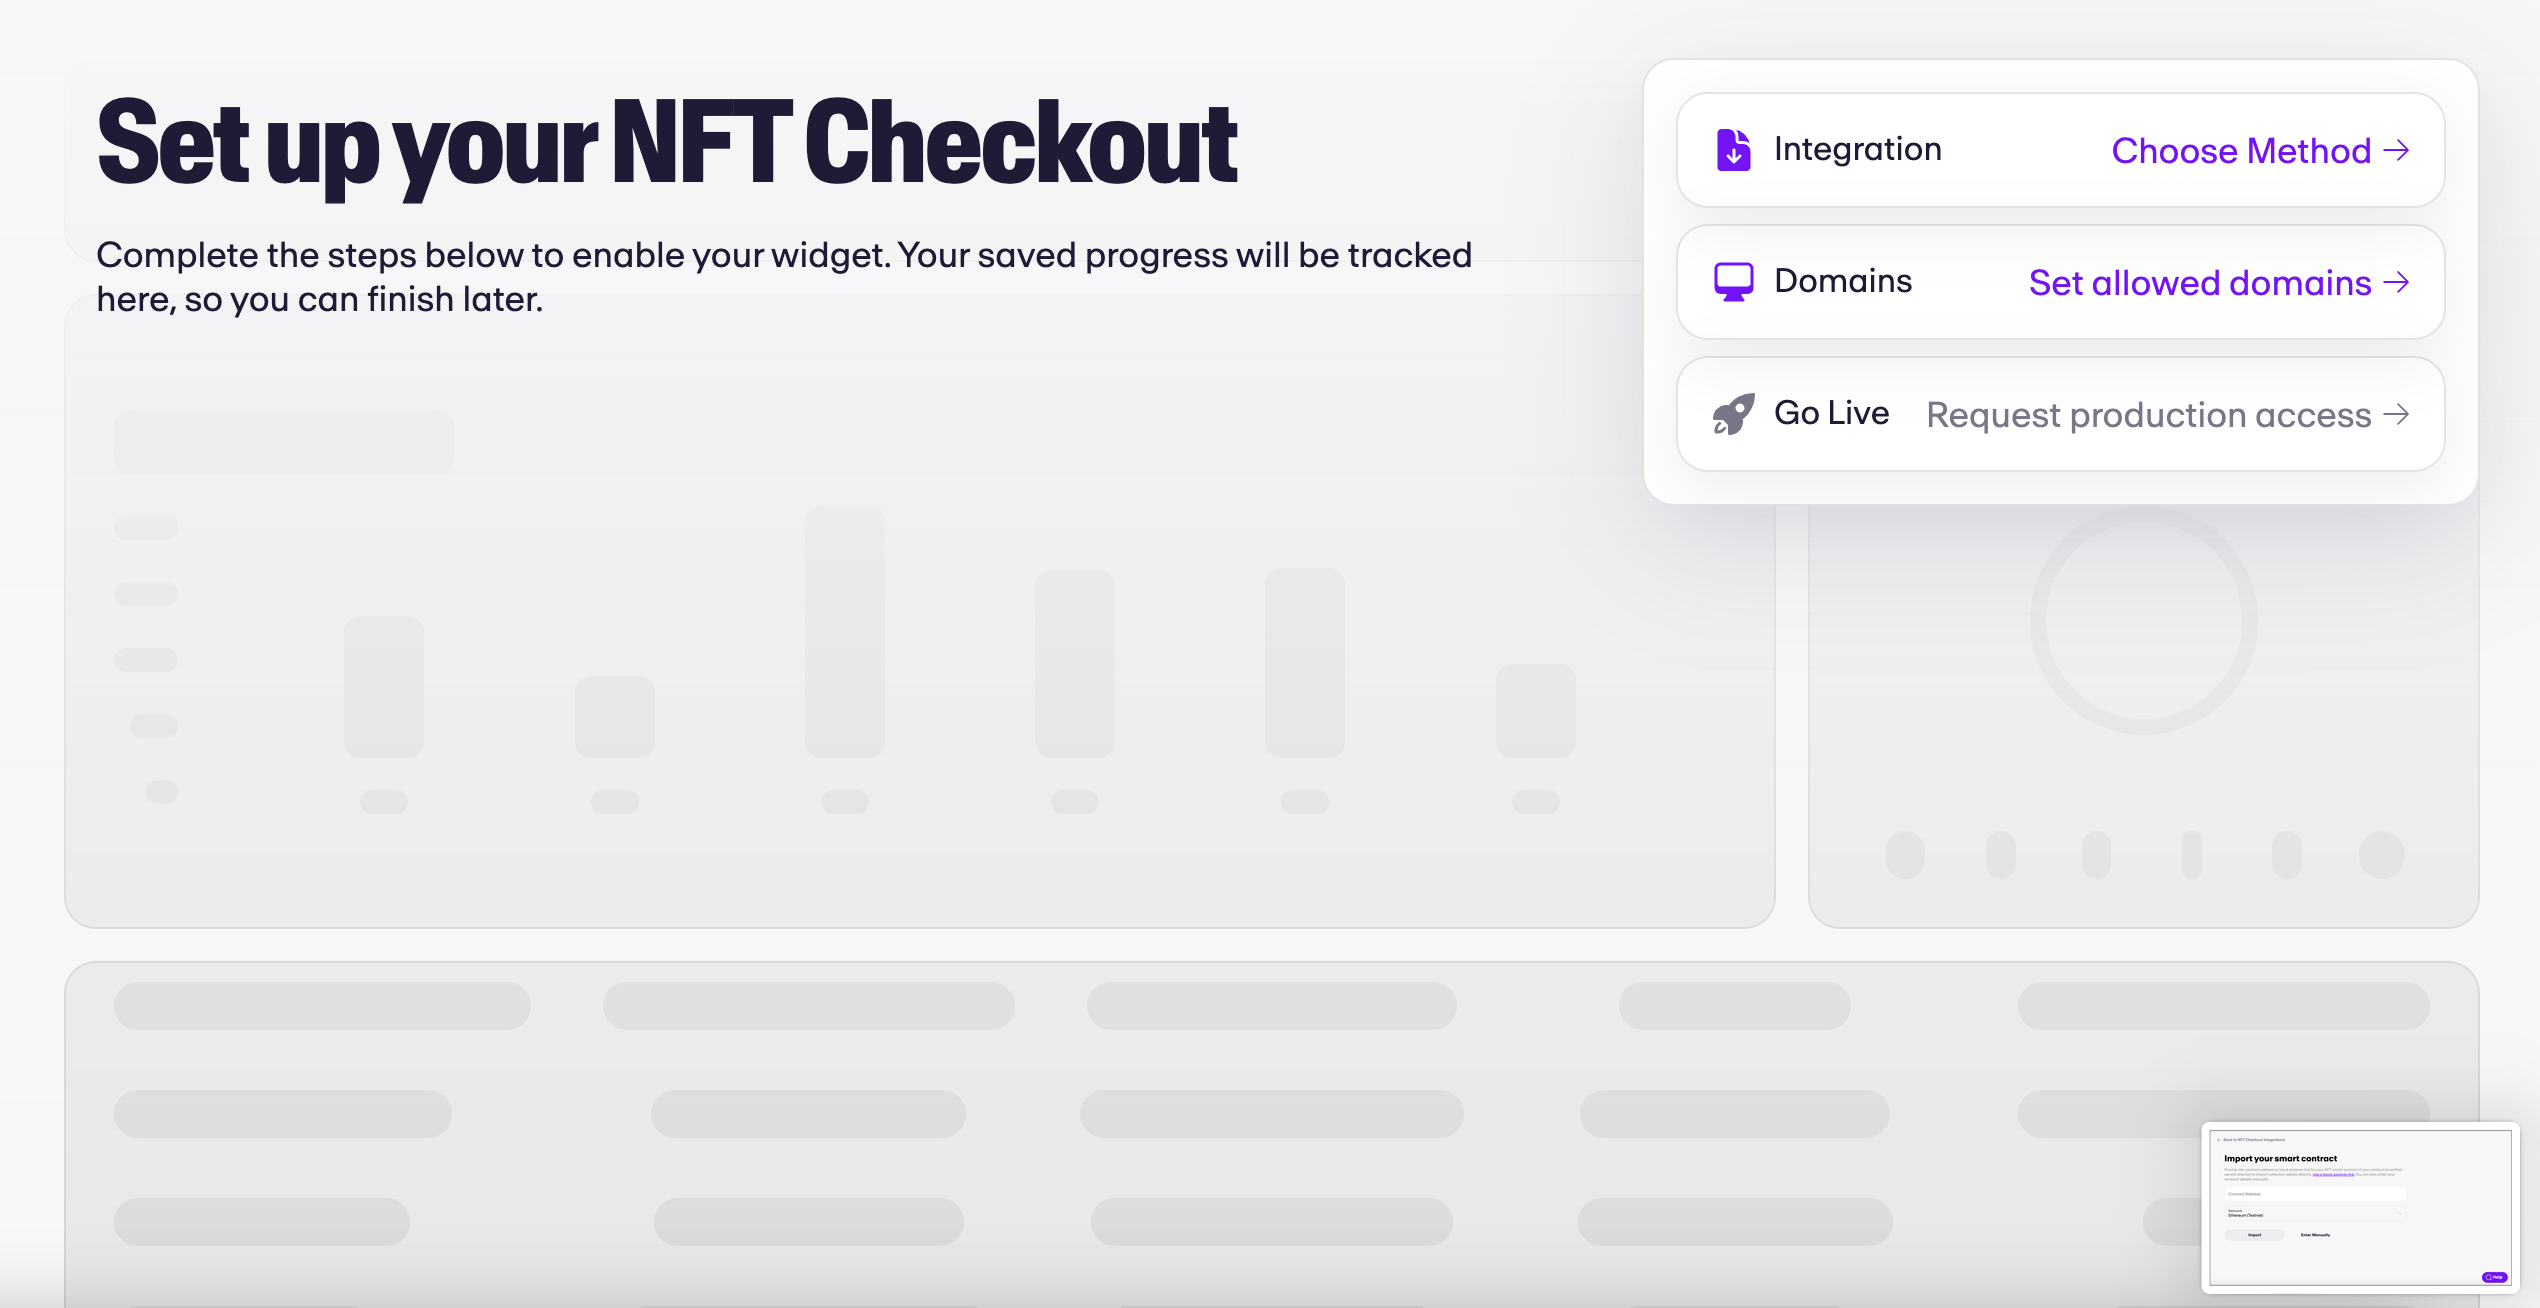
Contract Import
Step 1: Ensure you meet our product pre-requisites
Before setting up MoonPay Checkout via Contract Import, you'll need to check you meet all the requirements to use our product.
- You're doing a drop, or primary sale where you are the seller and funds settle to you.
- Your drop or primary sale is on either Ethereum or Polygon and NFTs are priced in their native currency (MATIC or ETH)
- The NFTs have a USD value of between $2.00 and $15,000
- You have an existing smart contract on one of the below standards
- ThirdWeb
- Custom ERC1155 compatible Smart Contract
- Custom ERC721/ERC721a compatible Smart Contract
- If your contract is a custom contract, please ensure it meets our Custom Smart Contract Requirements.
Custom Smart Contract Requirements
Basic NFT Smart Contract requirements are described here
Mint method
As a crucial part of the transaction flow, our system will directly invoke your mint function. To ensure seamless operation, please adhere to the following requirements for your mint function:
- Name of the Function: The mint function can have any name. We do not make assumptions in this regard. During the collection setup process, you will inform us about the specific name of your mint function.
- Number of Arguments: The mint function can accommodate any number of arguments. The design is flexible to suit a wide range of use cases.
- Buyer Wallet Address Argument: The function must have an argument to accept the buyer's wallet address. This is the address of the customer making the purchase.
- Quantity Argument: The function must also include an argument to specify the number of NFTs to mint.
- NFT Destination: The newly minted NFTs should be sent to the
msg.sender❗❗❗.
Here's an example of a mint function that satisfies these requirements:
function claimTo(address _to, uint256 _quantity, bytes _proof) public payableIf you wish to limit contract calls exclusively to MoonPay, this can be achieved by requiring the msg.sender to match MoonPay's smart contract address. Please refer to the table below for the correct address.
Allow lists:
If your smart contract incorporates an Allow List, it's vital to undertake the following steps to ensure a smooth and secure minting process:
- Buyer Wallet Address Verification: Always compare the buyer wallet address given as an argument in the mint function call against the Allow List. This verification step ensures that only authorized users can mint tokens.
- MoonPay Address Access: Grant the MoonPay address permissions to mint an unlimited number of NFTs at any time. The ability to mint without restrictions is crucial for MoonPay to operate effectively.
Passing additional arguments to mint function:
Sometimes the mint function of your NFT smart contract may require additional data. This extra information can be provided within the 'mintData' field, which is nested within the metadata query parameter. This parameter comes into play when you're initializing the widget.
Example
For example, consider a situation where your mint function ABI (Application Binary Interface) has the following structure:
function mint(address _to, uint256 _quantity, uint256 _maxQuantity) public payableAnd, let's assume the collection ID for your NFT is 'abc-123-xyz'. (Collection id will be generated for you after successful collection creation in MoonPay Dashboard)
Under these circumstances, you would pass the metadata object to the widget URL. It serves as a parameter, providing the necessary context for the widget operation.
Note: The metadata object provides the necessary data fields (_maxQuantity, moonpayCollectionId) and their corresponding values. It's crucial to ensure the correct structure and values within the metadata object to facilitate successful mint function operations.
const metadata = encodeURIComponent(JSON.stringify({
  moonpayCollectionId: “abc-123-xyz”,
  mintData: {
    _maxQuantity: 5,  // Key name has to match argument name in the mint function!!
  }
}))Please note: Adhering to these guidelines will ensure a smooth transaction flow and avoid potential issues during the minting process.
MoonPay's Smart Contract addresses:
List of all addresses available here
Step 2: Login to your MoonPay Dashboard account
Link to access the MoonPay Dashboard
Step 3: Navigate to Contract Import on your Dashboard sidebar
Locate the 'MoonPay Checkout' on the side bar, and choose 'Contract Import' as an integration option.
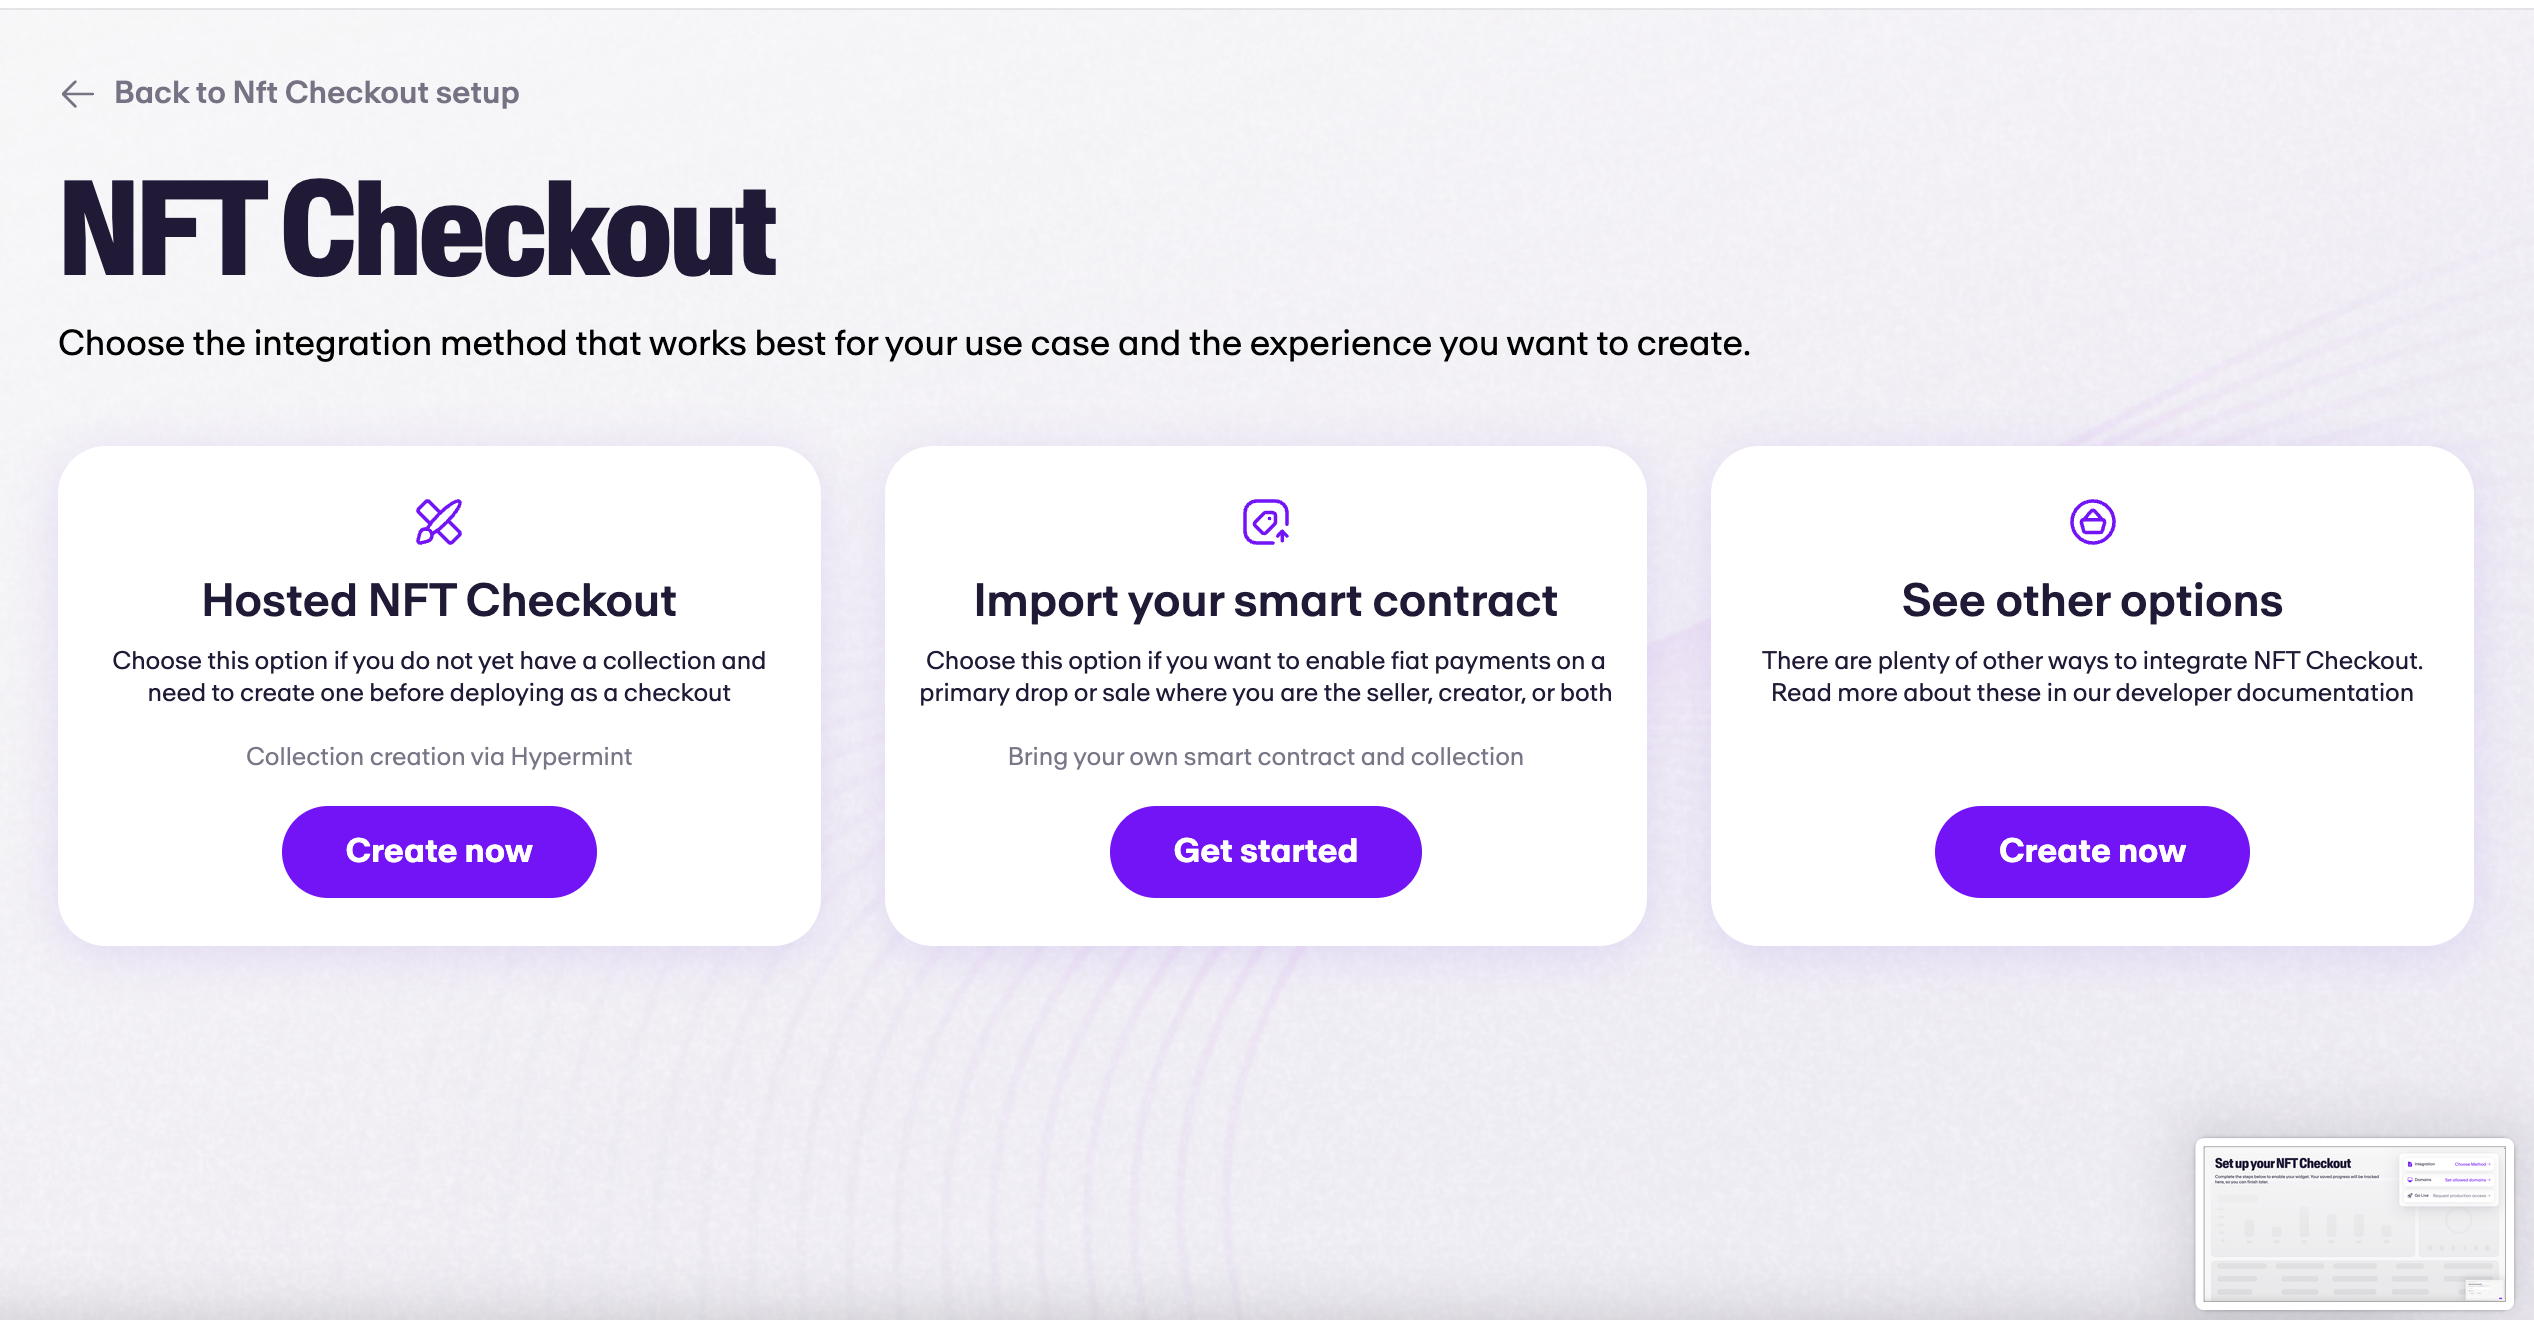
Step 4: Register Your Contract
In order to execute the mint on behalf of our end-user, we need to know more about the collection you’re selling and the smart contract you’re using. You’ll need to provide some basic information, such as the collection name, the NFT image, and the price.
We also need an ABI of your mint function in your smart contract. If you’re using ThirdWeb, all you need to do is tell us via the ‘contract type’ drop down. If you’re using a custom smart contract, select the contract type and then paste your mint function ABI into the ABI field below.

Step 5: Integrate the widget
You've made it to the final step of the integration: incorporating the widget. This essential component enables buyers to place orders for an NFT. You have two methods to achieve this:
- Direct Widget URL Use: If your smart contract does not require any extra arguments and you don't plan to use additional widget parameters, the process is straightforward. Simply click on "Copy widget URL" adjacent to the collection in your Dashboard. Then, use this URL to display the widget within an iFrame on your website.
- Widget Customization: If you wish to personalize the widget or need to pass extra arguments to your smart contract, you have the flexibility to do so. To learn more about customizing and displaying the widget, you can Learn more about displaying the widget.
Please note, before going live you must complete KYB. You can do this in the MoonPay dashboard, but if you have questions, please reach out to a member of our team.
Updated 26 days ago